Technology nowadays has really evolved, going from Polaroid pictures, to disposable cameras, to having a camera in your back pocket. Having a cell phone with cameras is the new and easy way to take pictures, all in an easy, portable way.
While DSLR and other high-tech cameras are professional, the equipment is tough to carry around (and not to mention it can get expensive). Plus, the convenience of taking photos on your phone and immediately uploading them to social media cannot be beaten. If you’re looking to up your Instagram photo game, we’ve got you covered on how to do so with the convenience of your phone.
How to Take a Perfect Instagram Photo in 10 Steps
Believe it or not, there’s a little bit of rhyme and reason when it comes to taking photos, especially ones that are “Insta-worthy.” Whether you know some of the rules or not, here’s a little step-by-step guide to help plan out your next Instagram photoshoot to really make it pop.
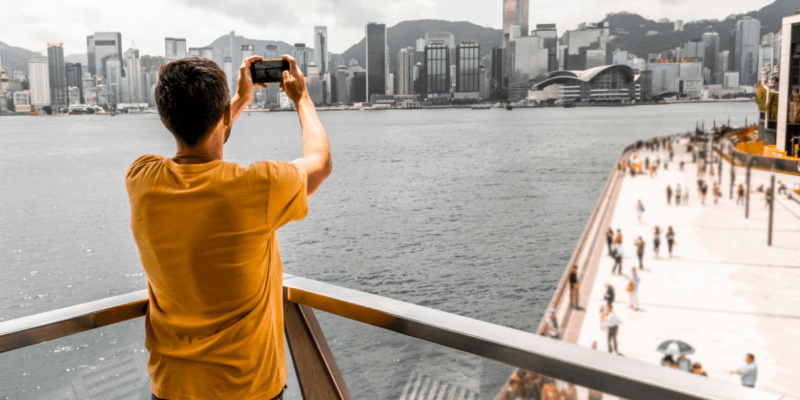
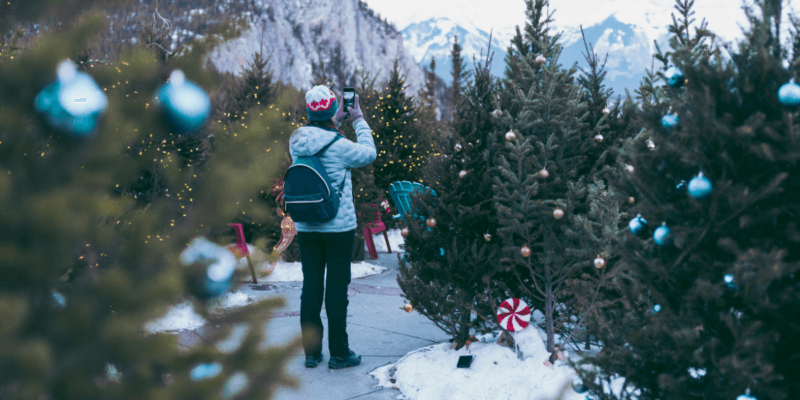
Set the Scene
This simply means, pick a spot to take the photo. Show your followers where you are. There are many different gorgeous backdrops to choose from. Whether it be a winery, beach, mountain, or something simple like a brick wall, you want to make sure you are accentuated in the picture (if you choose to be in it) and compliment the background.
It all depends on where you are. This can be as simple as your backyard. But also, who wouldn’t want to show off such an incredible vacation? Show-stopping backgrounds will make your followers take a look.
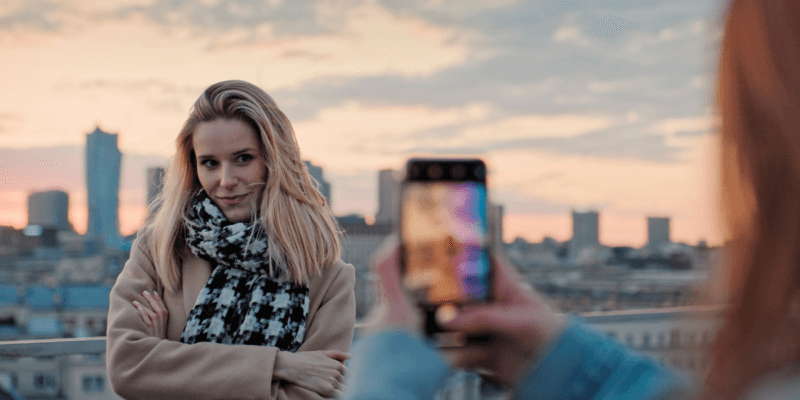
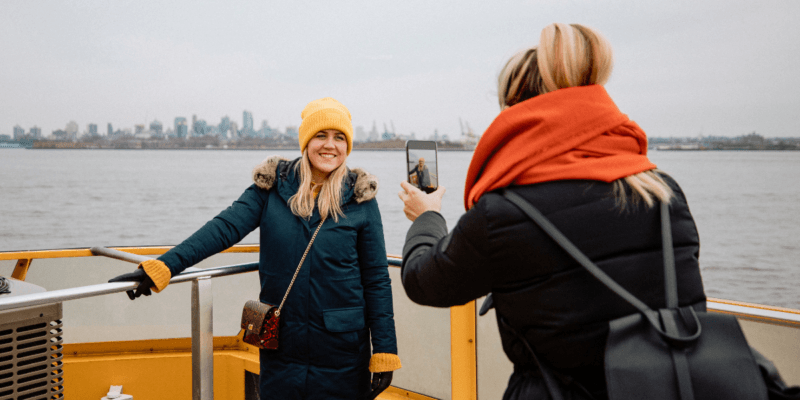
Frame Your Subject
This goes hand-in-hand when selecting your background. You want to leave space in the area around the focal point of the photo, whether that be yourself or something else in the foreground. This way, the subject of the photo may be the star, but the background enhances the photo, causing a more visual interest and appeal to the eye.
Use Natural Light
Your phone loves to work off of natural light. Lighting makes for the foundation of a good photo. You don’t want your picture too dark or too light, washing out the natural beauty of the photo. Try to avoid using flash when you can, because the flash can cause much brighter photos and wash out the subject of your photo. If your ideal scene is not outdoors, try taking the photo by a window or in a well-lit room. This includes when it’s dark out.
Make Sure Your Camera Focuses
Your camera might focus, but on the wrong piece of your photo. If a photo is overexposed, not even a photo editing tool will be able to fix it. To prevent overexposure, adjust the lighting on your screen by tapping and sliding your finger up or down. This adjusts the exposure. Another way to prevent overexposure is to tap your finger on the brightest part of the frame (such as the sky if you’re outside) and the lighting will adjust.

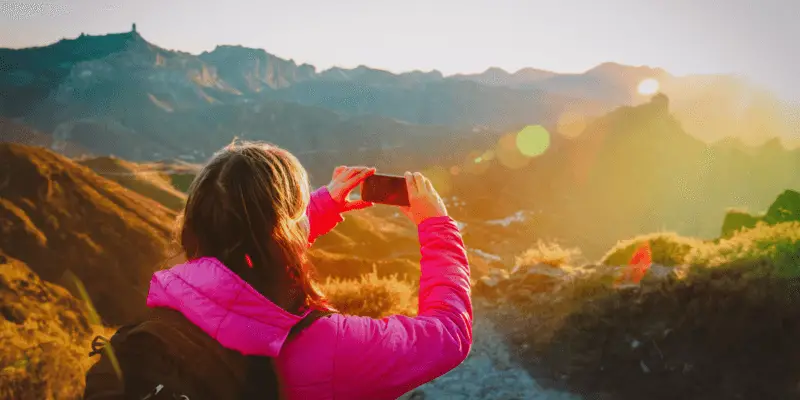
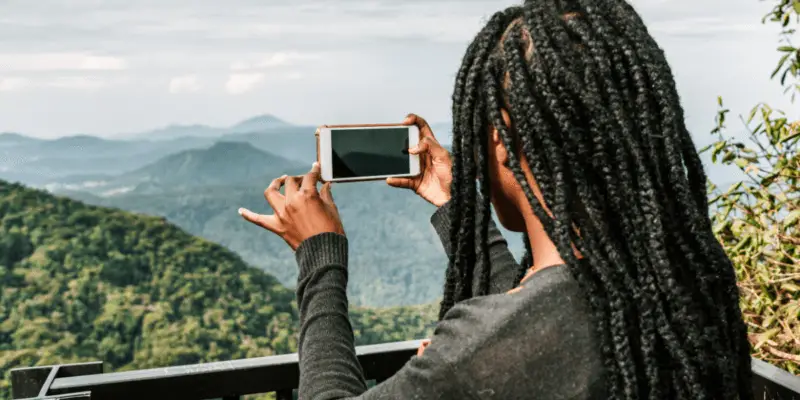
Know Your Time of Day
One of the most popular times of the day for photos, especially in the photography world, is golden hour. This is when the sun is low on the horizon, making the photos radiate, and the subject glow with beauty.
However, if your Instagram photoshoot isn’t around sunset, then your next best option is to shoot when the clouds are out. Shooting under direct sunlight will look harsh in photos and make the lighting seem off (which will be hard to edit). Clouds will block some of that harsh lighting.
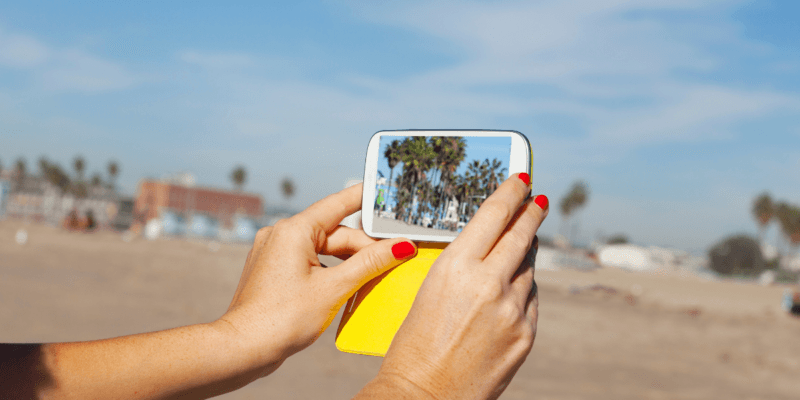
Know and Follow the Rule of Thirds
The rule of thirds is a guideline to help frame the composition of the photo. This helps you balance the image in terms of shapes, textures, colors, and other elements in the photo. It divides an image into a 3 x 3 grid and helps to either align the subjects or objects along these grid lines, creating balance or helps set an asymmetric display.
For example, say you are the foreground subject. Using the rule of thirds, you can place yourself directly centered in the photo, creating a well-balanced, symmetrical, and perfect photo. Or, you can move yourself to one of the outer sides of the grid instead of the center. This way, you are still in the foreground, but your background helps cut that empty space. Your phone camera also has the ability to create these gridlines. These can be used to help you take your photo.
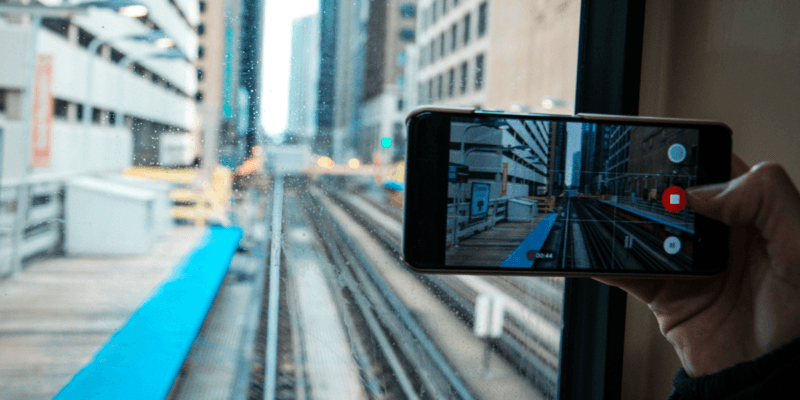
Create a Narrow Depth of Field
A narrow depth of field means you are creating lines that seem to get narrower as you reach the back of the photo. Whether this is done from lines of a road to rows of buildings, or the grapevines in a winery, these lines will make the viewer focus on the image in the narrowest section. Not only does it draw the attention of the viewer, but it creates depth, making the photo look longer than it is.
It also makes it seem as if the subject is further in the distance when really the photo is just playing a clever trick on the eyes to make them look directly in the central, most narrow section.
Create More Layers
Yes, one subject in the foreground can make for nice, simple, and focused pictures. However, less is not always more. Sometimes, it becomes exciting to add more details in photos and have a lot going on. It attracts the viewers’ eyes in more ways than one.
Try adding layers, patterns, or other objects in both the background and the foreground. For example, say you’re taking a picture in a pumpkin patch. You are in the foreground. You also have pumpkins in the foreground, trees in the background, and possibly you can get a tractor in the background as well. Or, you take a picture of a flower as the subject, it is then layered by grass or leaves and more flowers in the background.
Try a New View
The most common angle to take a photo is straight-on, directly at eye-level. Different vantage points and positions make the photo seem unique. For example, try getting your camera low to the ground and angling the camera up a little bit. It will make the subject seem taller or longer. Or, try getting the photo from a different angle, like a bird’s eye view if you can reach up that high.

Be Creative
Speaking of unique, no one wants to see a boring photo. Spice it up a bit by going against the trends. Pose a different way, choose a unique background, angle your photo differently.
Viewers will be sure to remember your photo for its creativity as opposed to “just another Instagram photo.” You are unique, as should your Instagram posts, so never be afraid to just be yourself. It will look like you’re enjoying the moment that much more!

Book an Instagram Photo Tour and Workshop to Perfect Your Skills
When you’re on vacation, the premises of your Instagram photoshoot is to make sure your followers know you are really living your best life. If you’re looking to change your Instagram photo game and want to make your trip stand out more on social media, try a photo tour.
This is perfect for those who are enjoying living in the moment on trips, but who are still looking to capture the moment for memories down the road. An Instagram photo tour will excite you to travel to your bucket list vacation destinations without the worry of forgetting to capture a moment along the way. This tour and workshop will help you practice some great photography skills and also have plenty of photo opportunities to create the perfect Instagram photoshoot.
The Localgrapher photo tour and workshop is available in over 950 destinations consisting of local photographers who are more than willing to help you create the perfect memories from your trip. There is so much to do and so much to see in this world, so why not make it special with a personal photo shoot wherever you go?
Our Instagram Photo Tour and Workshop costs $220 for a 90-minute private touring session consisting of trendy local spots with local photographer’s tips on how to take photos using your smartphone camera.
Your Instagram profile shows who you are; your interests, your hobbies, and your journeys. It’s how you want people to see the world the same way you do. While you’re exploring, you want your viewers to follow on your journey. Sometimes, your Instagram even acts as a virtual scrapbook you can share with others. Make your memories perfect with a well-executed Instagram photoshoot.
By following this step-by-step guide, your Instagram photos are going to shine. And by taking the Instagram workshop, you’ll be sure to become a pro in no time. Soon enough, you’ll be making your own guide to help Instagrammers get those award-winning pictures.